# Setting Up the Gravity Forms Dynamics CRM Add-On
After you have successfully completed installation of the Gravity Forms Dynamics CRM Add-On (opens new window) for WordPress, you're ready to begin the initial setup. In this article, we will show you how to perform the initial setup steps required within the Gravity Forms Dynamics Add-On.
Note
This article assumes that you have already met the prerequisites and have Dynamics 365 or On-Premises instance and account with the required permissions. If you do not already have one, you may sign up for an account on the Microsoft Dynamics 365 (opens new window) website.
If you have not already done so, log into your WordPress admin dashboard.
Once logged in, hover over Forms, then click on Settings on the left side navigation menu.
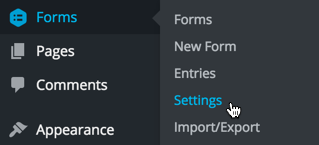
From this page, click on the Dynamics CRM tab to access the settings for Dynamics CRM.
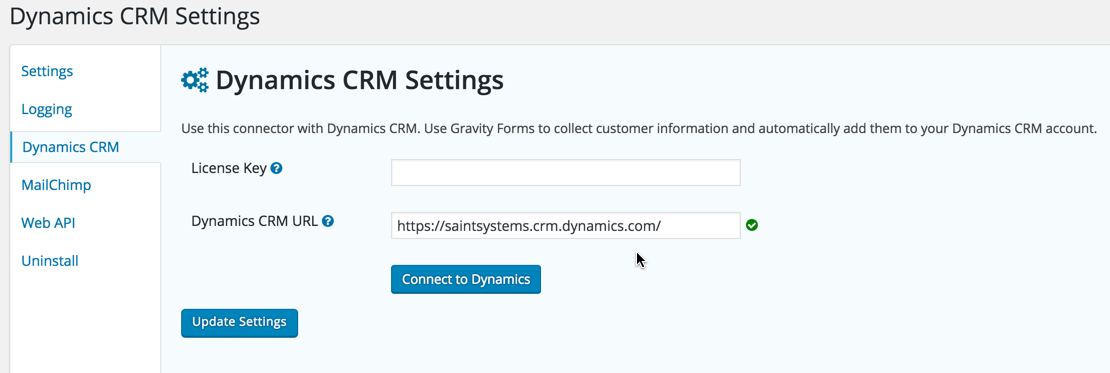
The first setting you will need to define is the Dynamics CRM URL setting. If you are unsure of your CRM URL, you may obtain this by simply taking a look at your URL when logged into Dynamics.
Once you have entered your Dynamics CRM URL, simply click the Update Settings button to save your settings.
If using Dynamics 365, click the Connect to Dynamics button to authorize the app.
If using Dynamics On-Premises, enter your username and password and click the Update Settings button to save your settings.
You should now have completed the initial setup of the Gravity Forms Dynamics Add-On. You're now ready to continue on to creating a feed.